Wet Concrete Stone Polisher Guide: Smooth Low-Dust Finish
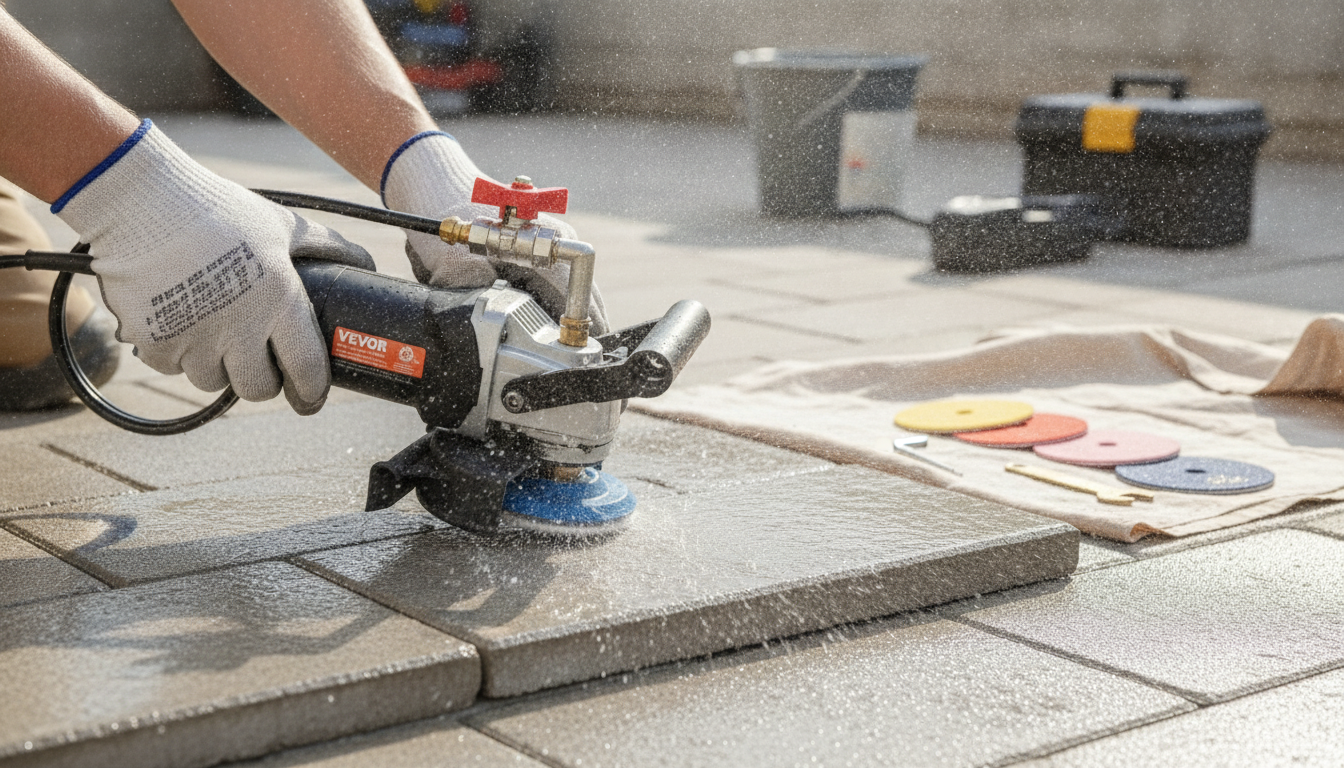
Wet Concrete & Stone Polisher for Smooth, Low-Dust Finishes
A wet polisher helps refine concrete and natural stone with controlled cooling, reduced airborne dust, and a more consistent finish on countertops, floors, and edges. The water film lubricates the pad-to-surface contact, helps carry away fine debris, and can make scratch patterns easier to manage—especially when you’re stepping up through grits. Below are practical ways wet polishing is used, what to prep before you start, and how to work through pads for a clean, even result.
What a wet polisher is used for
Wet polishing is a go-to method when finish quality matters and water use is acceptable. It’s commonly used for:
- Refining concrete surfaces after patching, leveling, or casting (including decorative concrete).
- Smoothing stone like granite, marble, and engineered stone when the material and pads are compatible.
- Edge work on sinks, steps, and slab cutouts where control matters more than speed.
- Reducing heat and friction during polishing to limit pad glazing and swirl marks.
- Keeping silica-containing dust down by using water at the point of contact (wet methods can reduce airborne dust, but safe work practices still apply).
If you’re shopping for a dedicated tool, the Wet Concrete & Stone Polisher is designed for wet polishing workflows where steady cooling and consistent pad action are important.
Why wet polishing can be easier to control
Compared with dry polishing, wet polishing often feels steadier—especially for newer users—because the surface temperature stays lower and the pad stays cleaner longer. Key control advantages include:
- Water cools the surface and pad, helping maintain steadier cutting action.
- Slurry carries away fines so pads are less likely to load up mid-pass.
- Lower risk of overheating sensitive edges and corners.
- Better visibility of scratch patterns after a quick rinse and squeegee pass.
- Often more forgiving for beginners than dry polishing, especially on concrete.
For jobsite safety background on silica exposure controls, see OSHA’s guidance on the Respirable Crystalline Silica Standard for Construction and NIOSH’s overview of silica workplace safety.
Typical pad progression and what each step does
Pad progression is where most finish outcomes are decided. The main rule: don’t move up until the previous grit’s scratches are fully removed. Start only as coarse as needed—lower grits remove material fast, but they also create deeper scratches that take time to refine.
- Keep each grit step consistent: similar pressure, overlapping passes, and full scratch removal before moving up.
- Rinse between grits to prevent stray coarse particles from re-scratching the surface.
- Edge and corner work should match the field finish to avoid visible bands.
Common grit progression for concrete and stone (example)
| Pad/Grit | Purpose | Notes |
|---|---|---|
| 50–100 | Flattening and removing heavy tooling marks | Use sparingly; easiest to introduce deep scratches if rushed |
| 200 | Refines coarse scratches | Don’t move up until 50–100 scratches are gone |
| 400 | Begins smoothing; surface starts to feel uniform | Great checkpoint: rinse, dry, and inspect under angled light |
| 800 | Pre-polish refinement | Swirl marks usually indicate uneven pressure or skipping steps |
| 1500 | Gloss-building stage | Work slower with lighter pressure for clarity |
| 3000 | Final shine | Pairs well with a sealer/guard when recommended for the surface |
Setup and preparation before polishing
Wet polishing is cleaner in the air, but messier on the ground. A little prep keeps slurry from becoming the biggest problem on the job.
- Confirm the surface is cured/ready: fresh concrete may need adequate cure time before final polishing.
- Mask adjacent cabinets, walls, and finished flooring; slurry can stain porous materials.
- Plan water management: wet vacuum, squeegee, towels, and a safe drain/disposal method.
- Check power and safety: GFCI-protected outlet, cord management, and drip loops.
- Test on an inconspicuous area to verify pad compatibility and expected finish level.
A practical approach is to set up a “rinse and inspect” station: squeegee the section, towel-dry it, then check under raking (angled) light before you commit to the next grit.
Technique tips for a clearer finish
The best wet-polished finishes come from disciplined, repeatable passes rather than extra pressure. Aim for steady pad contact, controlled water, and frequent inspections.
Safety and cleanup essentials
Wet Concrete & Stone Polisher: when it’s a good fit
Quick checklist before buying
| Item | Why it matters |
|---|---|
| GFCI-protected power access | Reduces shock risk when working with water |
| Compatible pad set (grits and type) | Determines scratch removal speed and final gloss |
| Water control plan (hose, sprayer, or feed) | Stabilizes performance and keeps dust down |
| Slurry collection (wet vac/squeegee) | Keeps workspace safe and prevents staining/mess |
Shop picks available now
- Wet Concrete & Stone Polisher ($146.01)
- DIY 3D Owl Clock Wooden Model Kit – Creative Puzzle Assembly Toy for Adults & Kids ($44.82)
- Vinyl Record Player C260, 3-Speed Bluetooth Vintage Turntable with Speakers ($47.51)
FAQ
Can a wet polisher be used on both concrete and natural stone?
Yes when the pads and method match the material. Confirm pad compatibility (concrete vs. specific stone), test a small area, and adjust grit progression to the surface hardness and desired finish.
How much water should be used while polishing?
Use enough to keep a thin lubricating film and prevent overheating, but not so much that the pad hydroplanes or the slurry becomes uncontrollable. A steady, modest flow plus frequent rinsing usually works best.
Why are swirl marks showing up after moving to a higher grit?
Common causes include skipping a grit, uneven pressure, tilting the tool, contaminated slurry from a coarser pad, or insufficient time at the previous grit. Dry and inspect under angled light before moving up.














Leave a comment