Flat Tire Safety: Step-by-Step Change + Checklist
Flat Tire? Stay Calm, Get Safe, and Follow a Simple Order
A flat tire can happen anywhere—your driveway, a store parking lot, or a highway shoulder. The safest outcome comes from slowing down smoothly, choosing the most secure spot you can, and following a clear sequence without rushing. Below is a beginner-friendly tire change guide with practical safety reminders, plus a quick checklist you can print and keep in the car.
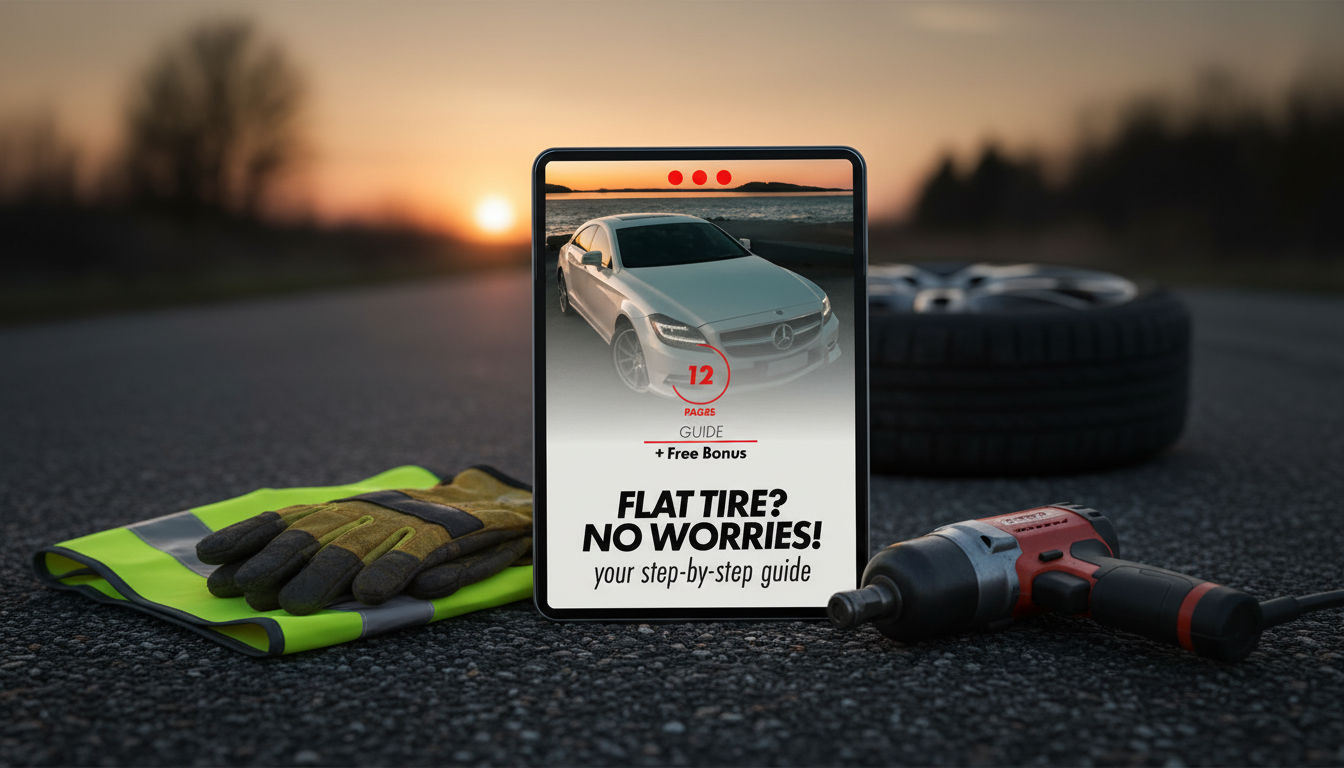
If you want a one-page reference that’s easy to pull up during a real roadside moment, consider Flat Tire? No Worries! Your Step-by-Step Guide – Easy Change a Tire Digital Guide (includes a printable checklist).
Before Anything Else: Get Safe and Make the Scene Visible
- Slow down gradually, avoid hard braking, and steer to a flat, stable area away from traffic. A parking lot or wide shoulder beats a narrow shoulder every time.
- Turn on hazard lights immediately. At night, keep interior lights low so your eyes stay adjusted to what’s happening outside.
- Set the parking brake and put the vehicle in Park (or in gear for a manual transmission).
- Keep passengers inside the vehicle (away from traffic) unless the location is unsafe. If anyone must exit, use the door farthest from traffic.
- If you have reflective triangles or flares, place them with care—stay alert and keep distance from moving vehicles while setting them out.
Quick Safety Setup Checklist
| Step | What to do | Why it matters |
|---|---|---|
| 1 | Hazards on, pull over slowly to level ground | Reduces risk of losing control and creates a safer work area |
| 2 | Parking brake on; vehicle in Park/gear | Prevents rolling while the car is lifted |
| 3 | Wheel chock (or sturdy block) opposite the flat | Adds stability and reduces chance of movement |
| 4 | Reflective triangles behind the car (if available) | Improves visibility for approaching drivers |
| 5 | Keep body out of traffic-side lane; work from curb-side when possible | Minimizes exposure to passing vehicles |
What You Need: Tools and Emergency Items to Keep in the Trunk
For broader tire safety basics and maintenance guidance, the NHTSA tire safety resource is a reliable reference.
Step-by-Step: How to Change a Tire Without Guesswork
- Confirm it’s safe to proceed. Locate the flat. If the shoulder is narrow, visibility is poor, or traffic is fast, consider roadside assistance instead. (AAA also shares practical roadside flat-tire tips: AAA Exchange.)
- Remove the hubcap (if present) and break lug nuts loose. While the tire is still on the ground, turn the lug nuts counterclockwise to “crack” them loose. Use a star pattern (not a circle) so the wheel stays seated evenly.
- Find the correct jack point. Check the owner’s manual or look for pinch-weld markings. Placing the jack in the wrong spot can damage the car—or slip when lifting.
- Raise the vehicle. Lift until the flat tire clears the ground by about an inch. Keep hands and feet out from under the vehicle; a roadside jack is for lifting, not supporting.
- Remove lug nuts and take off the tire. Fully remove lug nuts and pull the tire straight toward you. Put lug nuts in a pocket or container so they don’t roll away.
- Mount the spare. Align the rim with the lug bolts and push the spare on until it’s seated flush against the hub.
- Hand-tighten, then snug in a star pattern. Start lug nuts by hand to avoid cross-threading. Snug them in a star pattern while the vehicle is still raised.
- Lower until the tire just touches. With the spare lightly contacting the ground, tighten lug nuts firmly in a star pattern so the wheel seats evenly.
- Lower fully and re-tighten. Remove the jack and do a final tighten in the same star pattern. Reattach the hubcap if it fits the spare.
- Stow everything securely and drive cautiously. Store the flat tire, jack, and tools so they won’t shift. Check spare tire pressure as soon as possible.
If It’s a Compact Spare: Driving Limits and Next Steps
For additional guidance on temporary spares, see Bridgestone’s spare tire safety overview.
Common Mistakes That Create Bigger Problems
Printable Checklist and Quick-Reference Download
For a simple, quick-access reference designed for first-timers, Flat Tire? No Worries! Your Step-by-Step Guide – Easy Change a Tire Digital Guide includes a printable checklist you can keep in your glove box (and a digital copy for your phone).
If the roadside moment has you feeling overwhelmed, keeping a calming routine can help you think clearly. A simple option to keep on your phone is Nature’s Healing Power Checklist: Boost Your Mental Health with the Benefits of Nature for quick grounding prompts after the immediate safety steps are handled.
FAQ
Is it safe to change a tire on the side of the road?
It depends on the location and traffic conditions. If the shoulder is narrow, visibility is poor, or cars are moving fast nearby, it’s safer to keep hazards on, stay in a protected spot, and call roadside assistance instead.
How tight should lug nuts be after installing the spare?
Tighten lug nuts firmly in a star pattern so the wheel seats evenly. Exact torque requires a torque wrench and your vehicle’s specifications, and it’s smart to re-check tightness after a short drive if you can do so safely.
How far can a compact spare tire be driven?
A compact spare is meant for temporary use only. Follow the limits printed on the spare’s sidewall and in your owner’s manual, keep speeds moderate, and get the original tire repaired or replaced as soon as possible.
















Leave a comment